JTrimを使った画像の加工方法をお伝えします。
なお、ここでは、画像をいろいろな形に加工したり、効果を与える方法をお伝えします。
■ 画像をソフトな感じにする方法

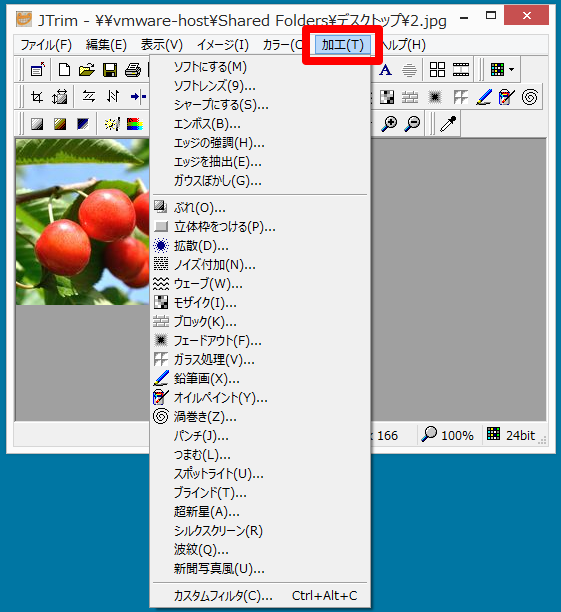
「加工」→「ソフトにする」で、画像をソフトな感じにすることができます。

これで完成です。
■ ソフトレンズで画像のやわらかさを調節する方法
「加工」→「ソフトレンズ」で、画像をソフトレンズでやわらかさを調節することができます。
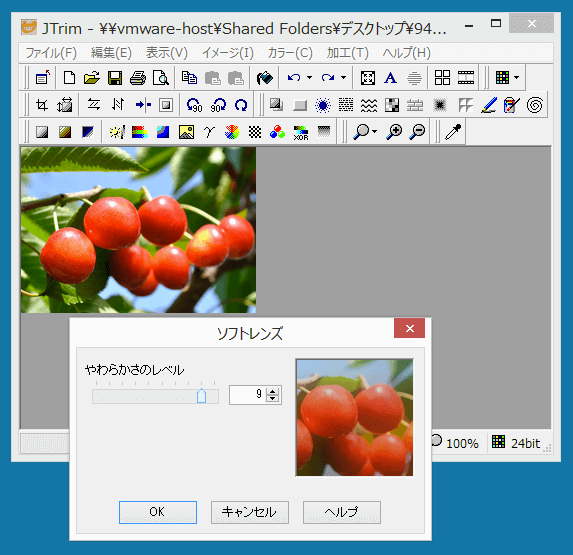
これで完成です。
■ 画像をシャープにする方法
「加工」→「シャープにする」で、画像をシャープにすることができます。
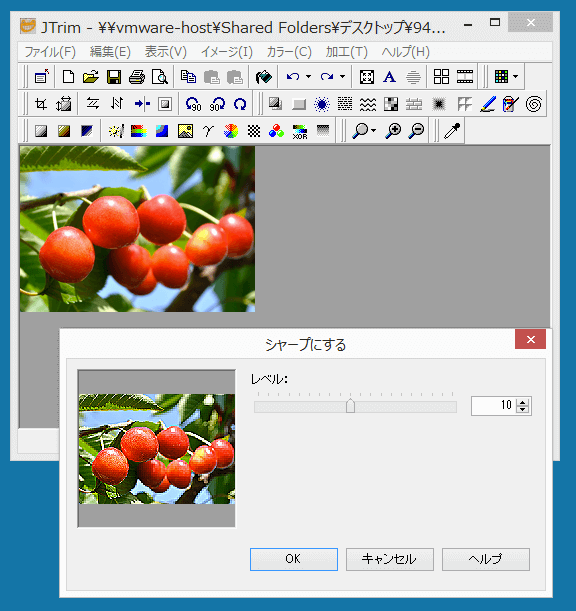
これで完成です。
■ 画像にエンボス加工をする方法
「加工」→「エンボス」で、画像にエンボス加工をすることができます。
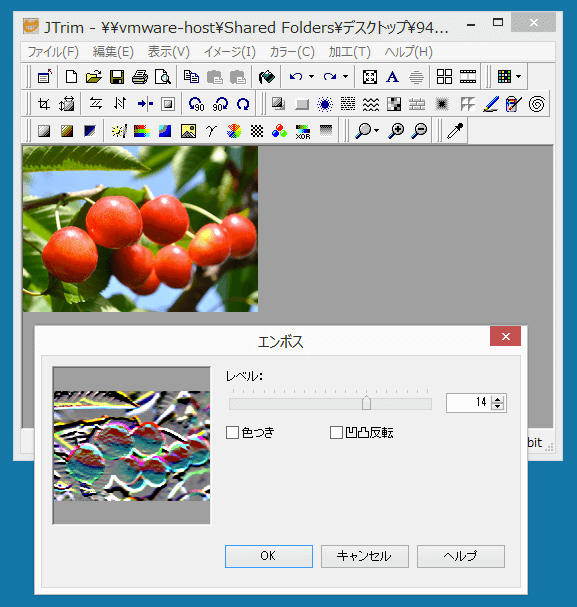
これで完成です。
■ 画像のエッジを強調する方法
「加工」→「エッジを強調」で、画像のエッジを強調することができます。
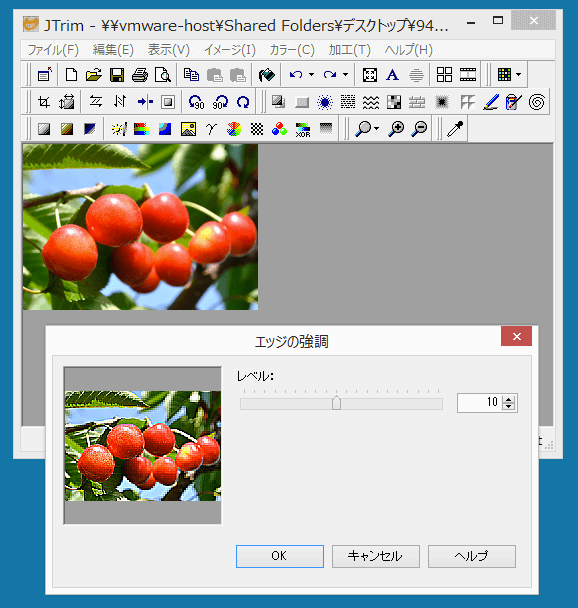
これで完成です。
■ 画像のエッジを抽出する方法
「加工」→「エッジを抽出」で、画像のエッジを抽出することができます。
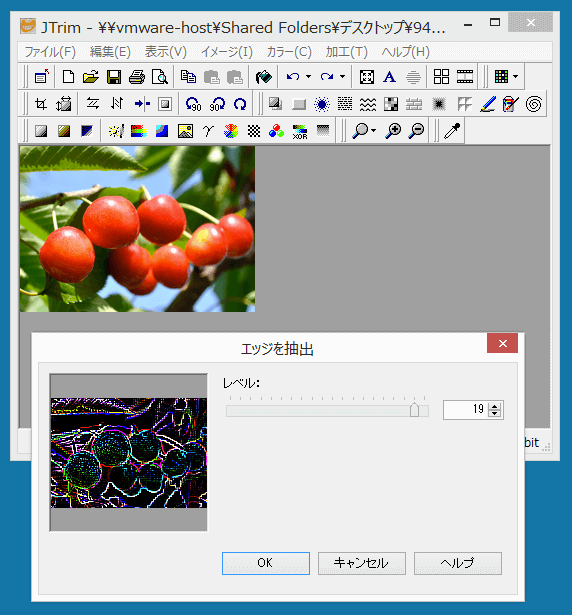
これで完成です。
■ 画像にガウスぼかし処理をする方法
「加工」→「ガウスぼかし」で、画像のエッジを抽出することができます。
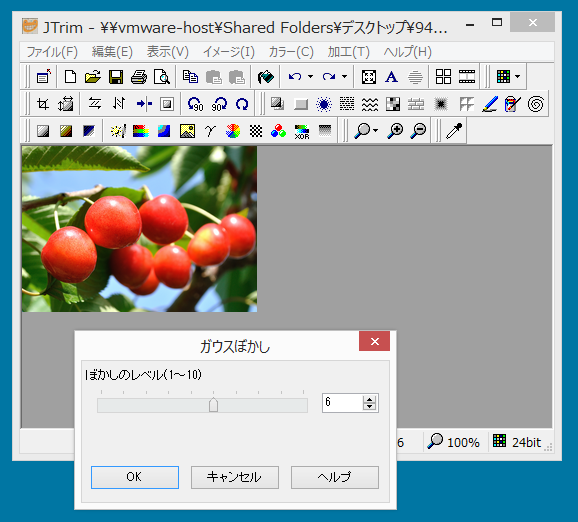
ぼかしのレベルをスライダーで調整して「OK」をクリックします。

これで完成です。
■ ぶれたような画像にする方法
「加工」→「ぶれ」で、ぶれたような画像にすることができます。

ぶれの大きさをスライダーで調整して「OK」をクリックします。
これで完成です。
■ 画像に立体枠をつける方法
「加工」→「立体枠をつける」で、画像に立体枠をつけることができます。
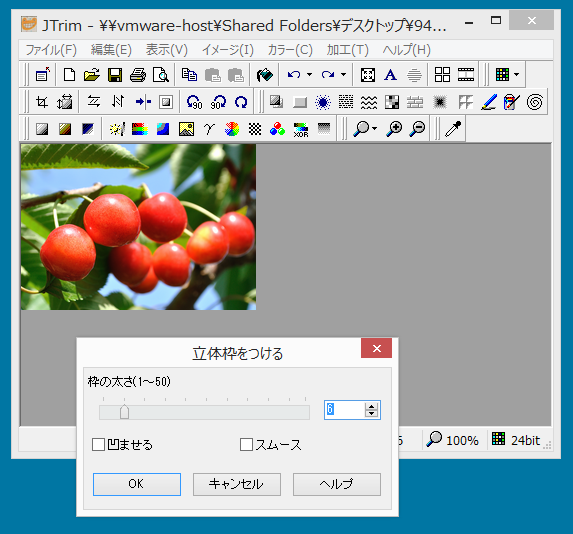
枠の太さをスライダーで調整して「OK」をクリックします。
これで完成です。
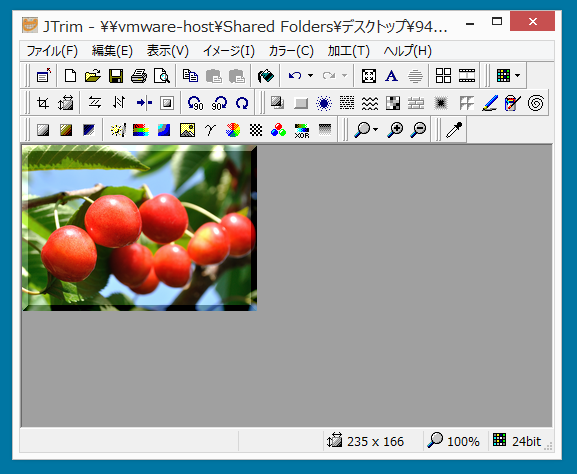
■ 粒子を拡散させたような画像にする方法
「加工」→「拡散」で、粒子を拡散させたような画像にすることができます。
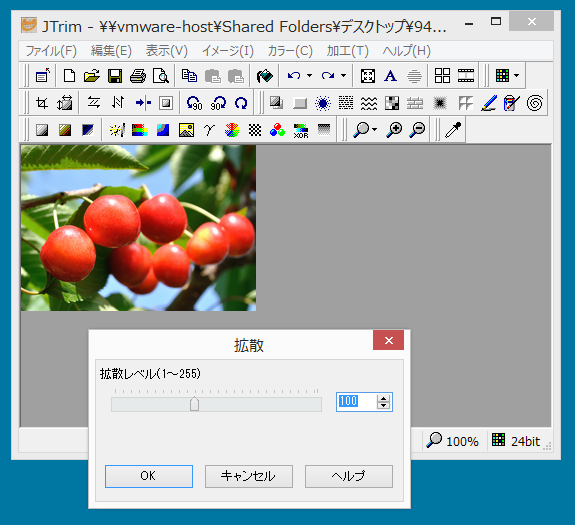
拡散レベルをスライダーで調整して「OK」をクリックします。
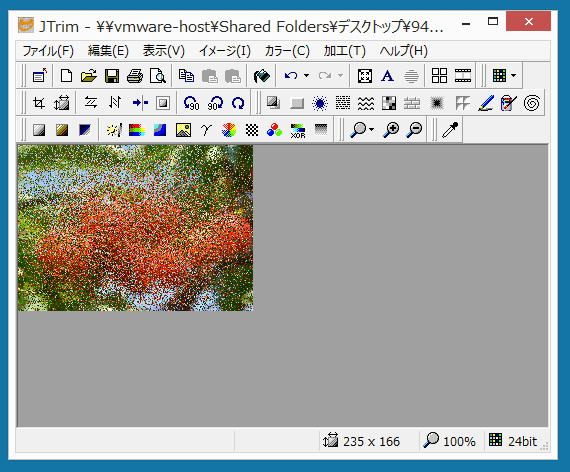
これで完成です。
■ ノイズ付加した画像にする方法
「加工」→「ノイズ付加」で、ノイズ付加したザラザラの画像にすることができます。
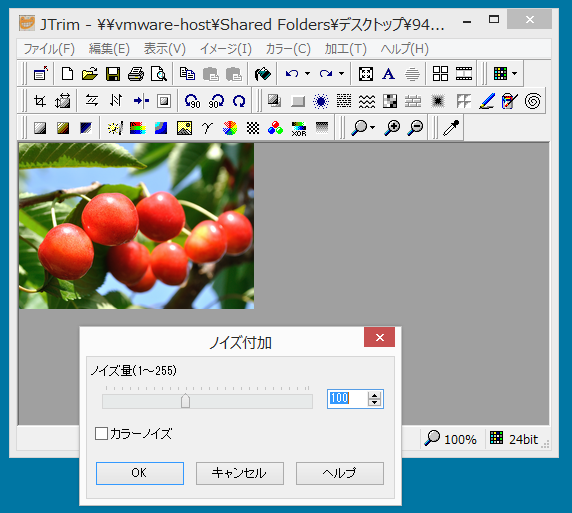
ノイズ量をスライダーで調整して「OK」をクリックします。

これで完成です。
■ ウェーブ加工した画像にする方法
「加工」→「ウェーブ」で、ウェーブ加工した波打った画像にすることができます。
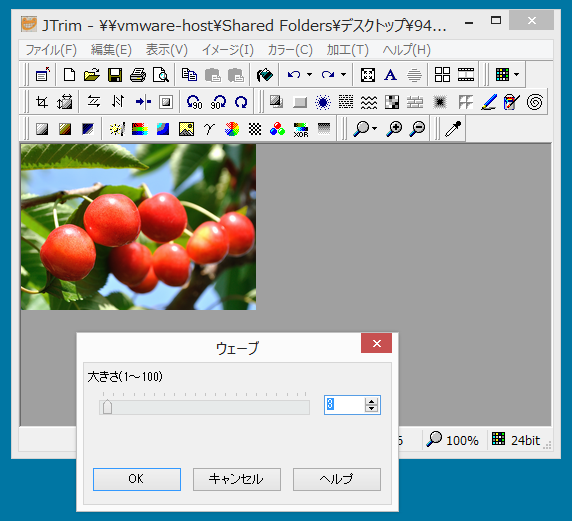
大きさをスライダーで調整して「OK」をクリックします。
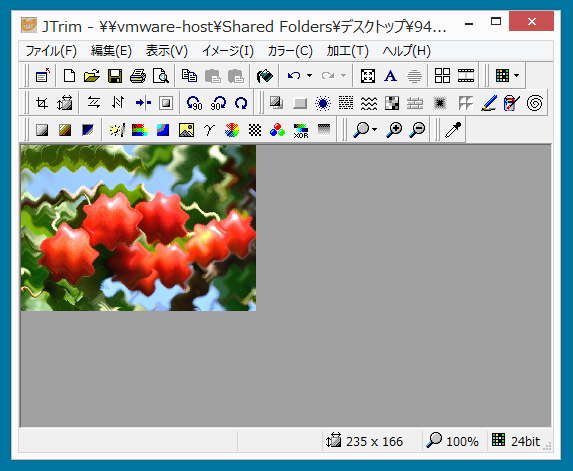
これで完成です。
■ モザイク加工した画像にする方法
「加工」→「モザイク」で、モザイク加工した画像にすることができます。
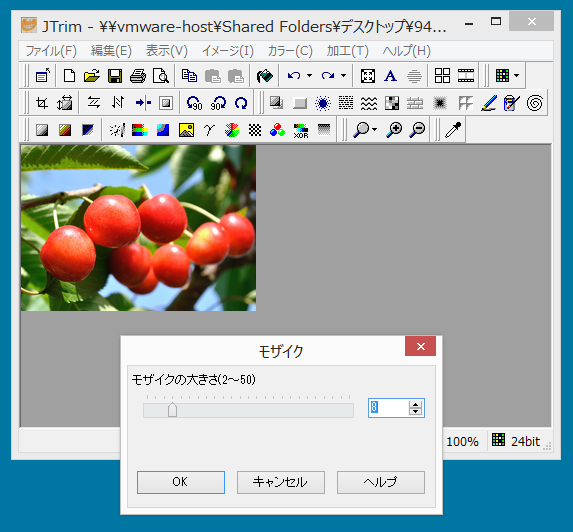
モザイクの大きさをスライダーで調整して「OK」をクリックします。

これで完成です。
■ ブロックのように加工した画像にする方法
「加工」→「ブロック」で、ブロックやレンガのように加工した画像にすることができます。
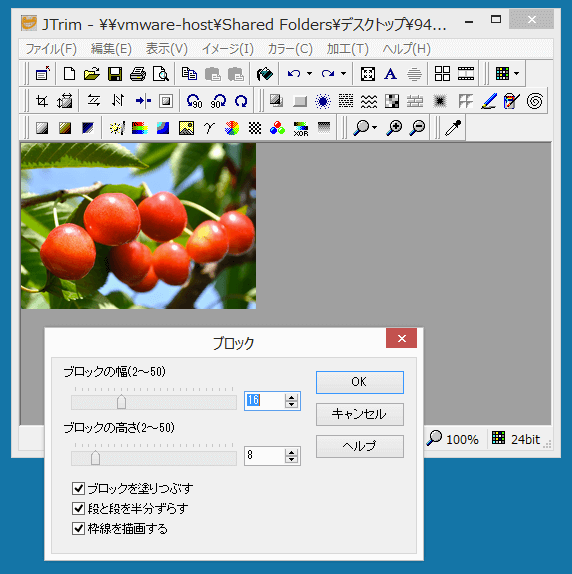
ブロックの幅と高さをスライダーで調整して「OK」をクリックします。

これで完成です。
■ フェードアウト加工してふちをぼかした画像にする方法
「加工」→「フェードアウト」で、フェードアウト加工して画像のふちをぼかすことができます。
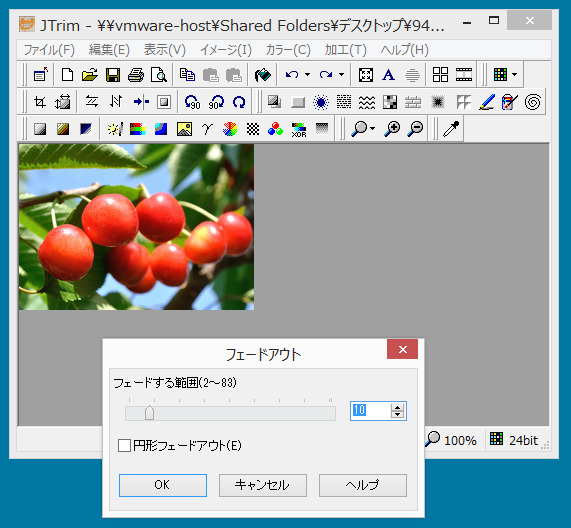
フェードアウトする範囲をスライダーで調整して「OK」をクリックします。

これで完成です。
■ ガラス処理した画像にする方法
「加工」→「ガラス処理」で、ガラス処理した画像にすることができます。
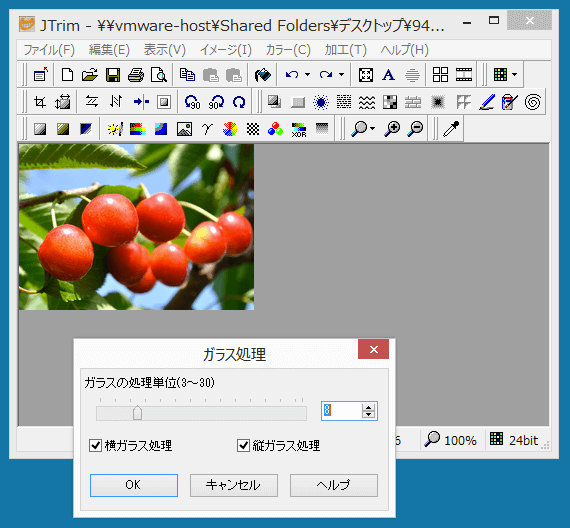
ガラスの処理単位をスライダーで調整して「OK」をクリックします。

これで完成です。
■ 鉛筆画のように加工した画像にする方法
「加工」→「鉛筆画」で、鉛筆画のように加工した画像にすることができます。
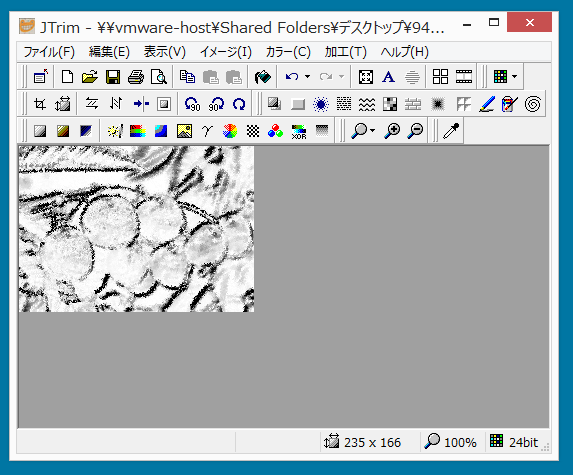
これで完成です。
■ オイルペイント、油絵のように加工した画像にする方法
「加工」→「オイルペイント」で、オイルペイントのように加工した画像にすることができます。
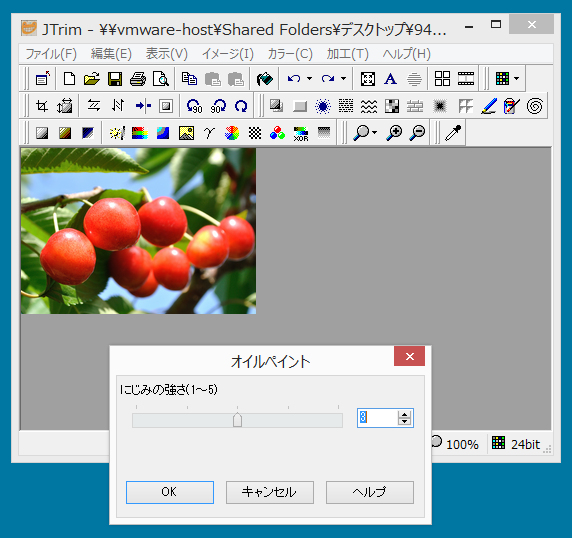
にじみの強さをスライダーで調整して「OK」をクリックします。

これで完成です。
■ 渦巻き加工した画像にする方法
「加工」→「渦巻き」で、渦巻き加工した画像にすることができます。
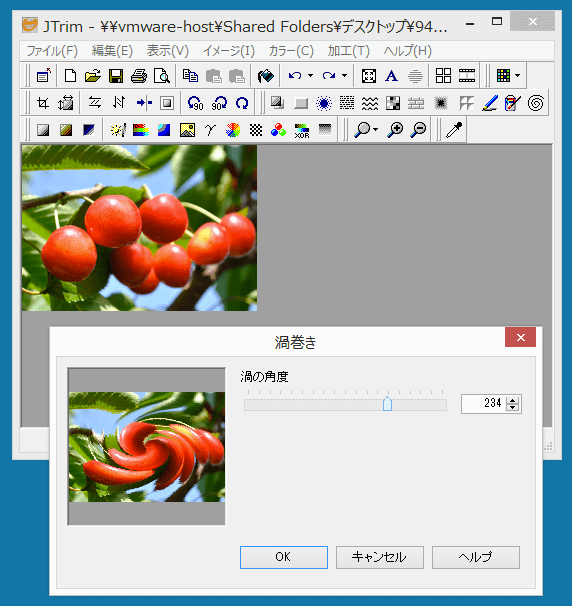
渦の角度をスライダーで調整して「OK」をクリックします。
これで完成です。
■ パンチされたような画像にする方法
「加工」→「パンチ」で、パンチされたような画像にすることができます。
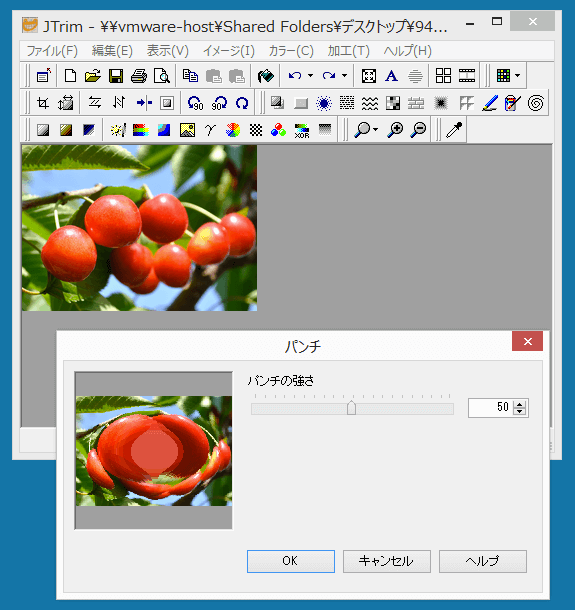
パンチの強さをスライダーで調整して「OK」をクリックします。
これで完成です。
■ つまんだような画像にする方法
「加工」→「つまむ」で、つまんだような画像にすることができます。
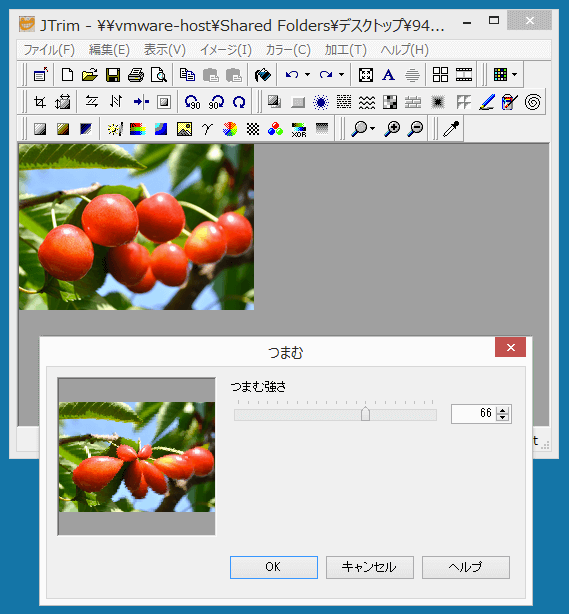
つまむ強さをスライダーで調整して「OK」をクリックします。
これで完成です。
■ 画像にスポットライトをあてる方法
「加工」→「スポットライト」で、画像にスポットライトをあてることができます。
グレーの枠線を、スポットライトをあてる場所に、ドラッグ&ドロップで動かして指定します。
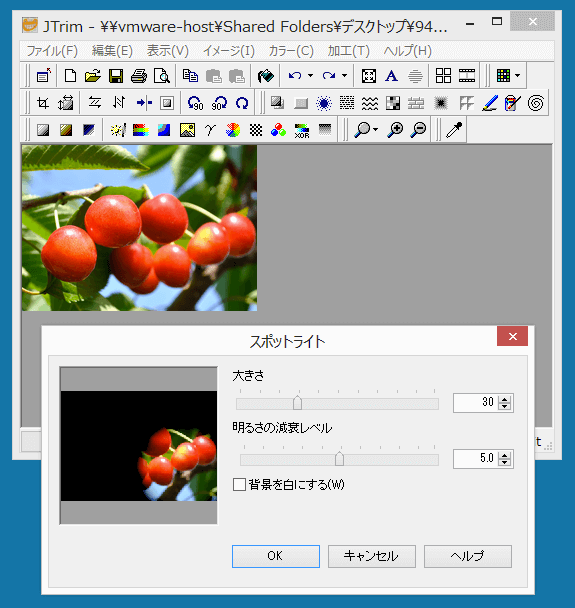
大きさと明るさの減衰レベルをスライダーで調整して「OK」をクリックします。
これで完成です。
■ ブラインドのような画像にする方法
「加工」→「ブラインド」で、ブラインドのような画像にすることができます。
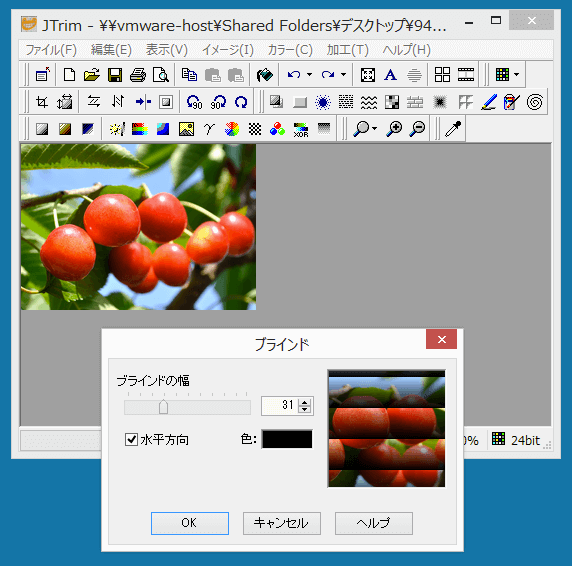
ブラインドの幅をスライダーで調整して「OK」をクリックします。
これで完成です。
■ 超新星輝くまぶしい画像にする方法
「加工」→「超新星」で、超新星ようにまぶしく輝く画像にすることができます。

グレーの枠線を、超新星の輝く場所に、ドラッグ&ドロップで動かして指定します。
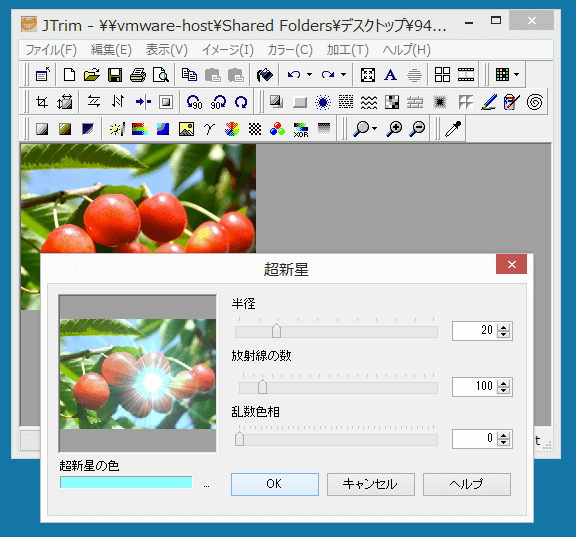
半径・放射線の数・乱数色相をスライダーで調整し、超新星の色をクリックして指定して「OK」をクリックします。
これで完成です。
■ シルクスクリーンのような画像にする方法
「加工」→「シルクスクリーン」で、シルクスクリーンのような画像にすることができます。
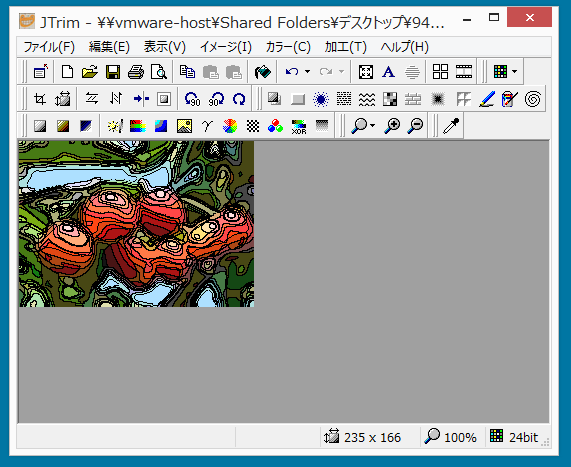
これで完成です。
■ 波紋の模様の画像にする方法
「加工」→「波紋」で、波紋の模様の画像にすることができます。
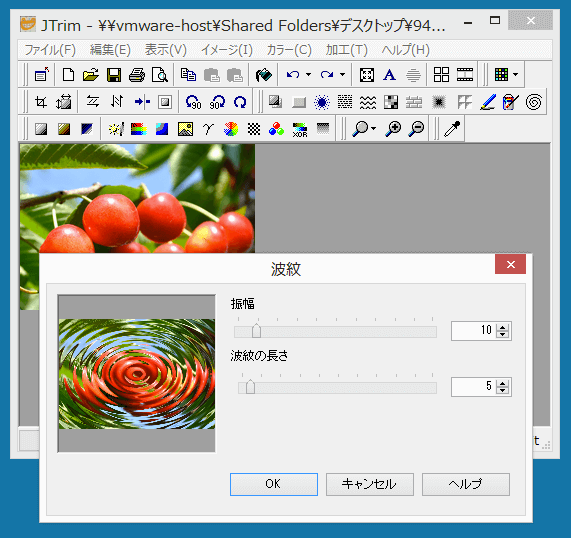
振幅・波紋の長さをスライダーで調整して「OK」をクリックします。
これで完成です。
■ 新聞写真風の画像にする方法
「加工」→「新聞写真風」で、新聞写真風の画像にすることができます。
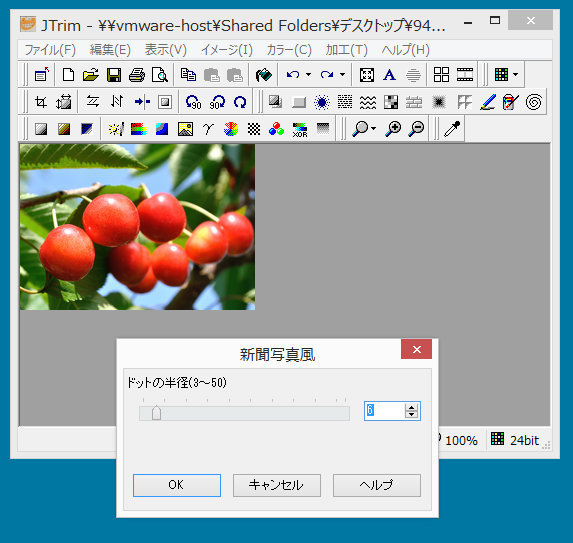
ドットの半径をスライダーで調整して「OK」をクリックします。
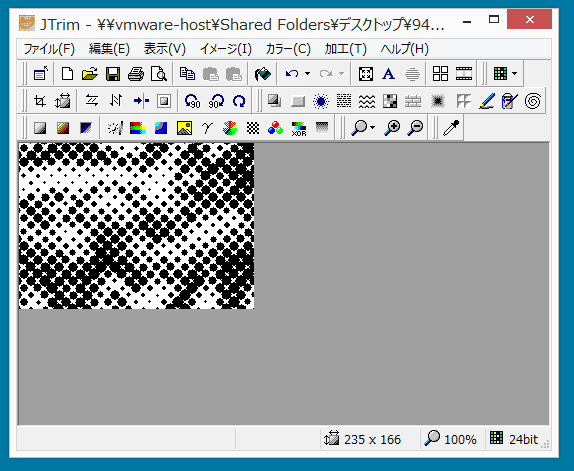
これで完成です。
【よく読まれている関連記事】